

4-Ingredient, No-Knead Sourdough Bread

This pictured bread is using Bob’s Red Mill Artisan Bread Flour
A simple, reliable sourdough bread recipe with a golden crust and airy crumb. Perfect for everyday slicing, toasting, or dipping into soups and stews.
Naturally fermented and deeply nourishing — this 4-ingredient sourdough is as wholesome as it gets. Unlike most commercial breads in Hong Kong (think Garden brand), which often contain preservatives, emulsifiers, artificial flavors, and refined flours, this loaf is slow-fermented with just flour, water, salt, and starter. That means better digestion, steadier blood sugar, and a flavor that only real fermentation can create. No additives, no shortcuts, just pure, honest bread.
Rustic Homemade Sourdough Bread Recipe
*Total time: 13-18 hours from start to finish, ~30 mins of active work
Ingredients:
500g unbleached artisan bread flour (I use Bob’s Red Mill Artisan Bread Flour, or Japanese bread flour for extra spring)
350g water
100g active sourdough starter (fed and bubbly!)
1.5 tsp Himalayan fine pink salt (or any natural salt)
📌 Make sure your starter is active and airy before baking — it should float in water when ready.
Instructions:
Mix & Autolyse (~30 min)
In a large bowl, mix flour and water until no dry bits remain. Cover and let rest for 30 minutes to hydrate the flour.Add Starter & Salt
Mix in the sourdough starter and salt until well combined. Use a stretch-and-fold motion to build structure.Bulk Fermentation (~3-4 hrs)
Cover and let dough rest 3–4 hours at room temperature, performing 3–4 sets of stretch and folds every 30 minutes during the first 2 hours. Dough should feel airy and rise about 50%.Shape
Shape into a round or oval loaf and place seam-side up in a bowl. (I just keep it in the same metal bowl that I use, so I don’t have to make a mess on the counter)Final Proof (Refrigeration) (~8-12 hrs)
Cover and refrigerate overnight (8–12 hours) for slow fermentation and deeper flavor.Bake (~45 mins)
Preheat oven to 250°C (480°F) with your Dutch oven inside. Carefully transfer dough (on parchment if easier) into the hot pot. Score the top with a sharp knife. Cover and bake 20 minutes. Remove lid, lower to 220°C (430°F), and bake another 20–25 minutes until golden brown.Cool (~45 mins)
Transfer to a wire rack and let cool completely before slicing — patience is key for crumb development.
Note for Toddlers:
This bread is free from added sugars, oils, and preservatives, making it suitable for toddlers from around 10 months old (offered in safe, age-appropriate pieces). Always supervise closely.
Storage Tips:
At room temp:
Store in a paper bag or cloth wrap inside a bread box for up to 1–2 days. Avoid plastic bags — they trap moisture and speed up mold, especially in Hong Kong’s humidity.
In the fridge:
Wrap in a clean towel or beeswax wrap, then place in an airtight container. Keeps for 4 days — toast before serving to restore texture.
In the freezer:
Slice and freeze once fully cooled. Use ziplock bags with parchment between slices. Keeps up to 2 months. Toast straight from frozen.
The process, in photos:
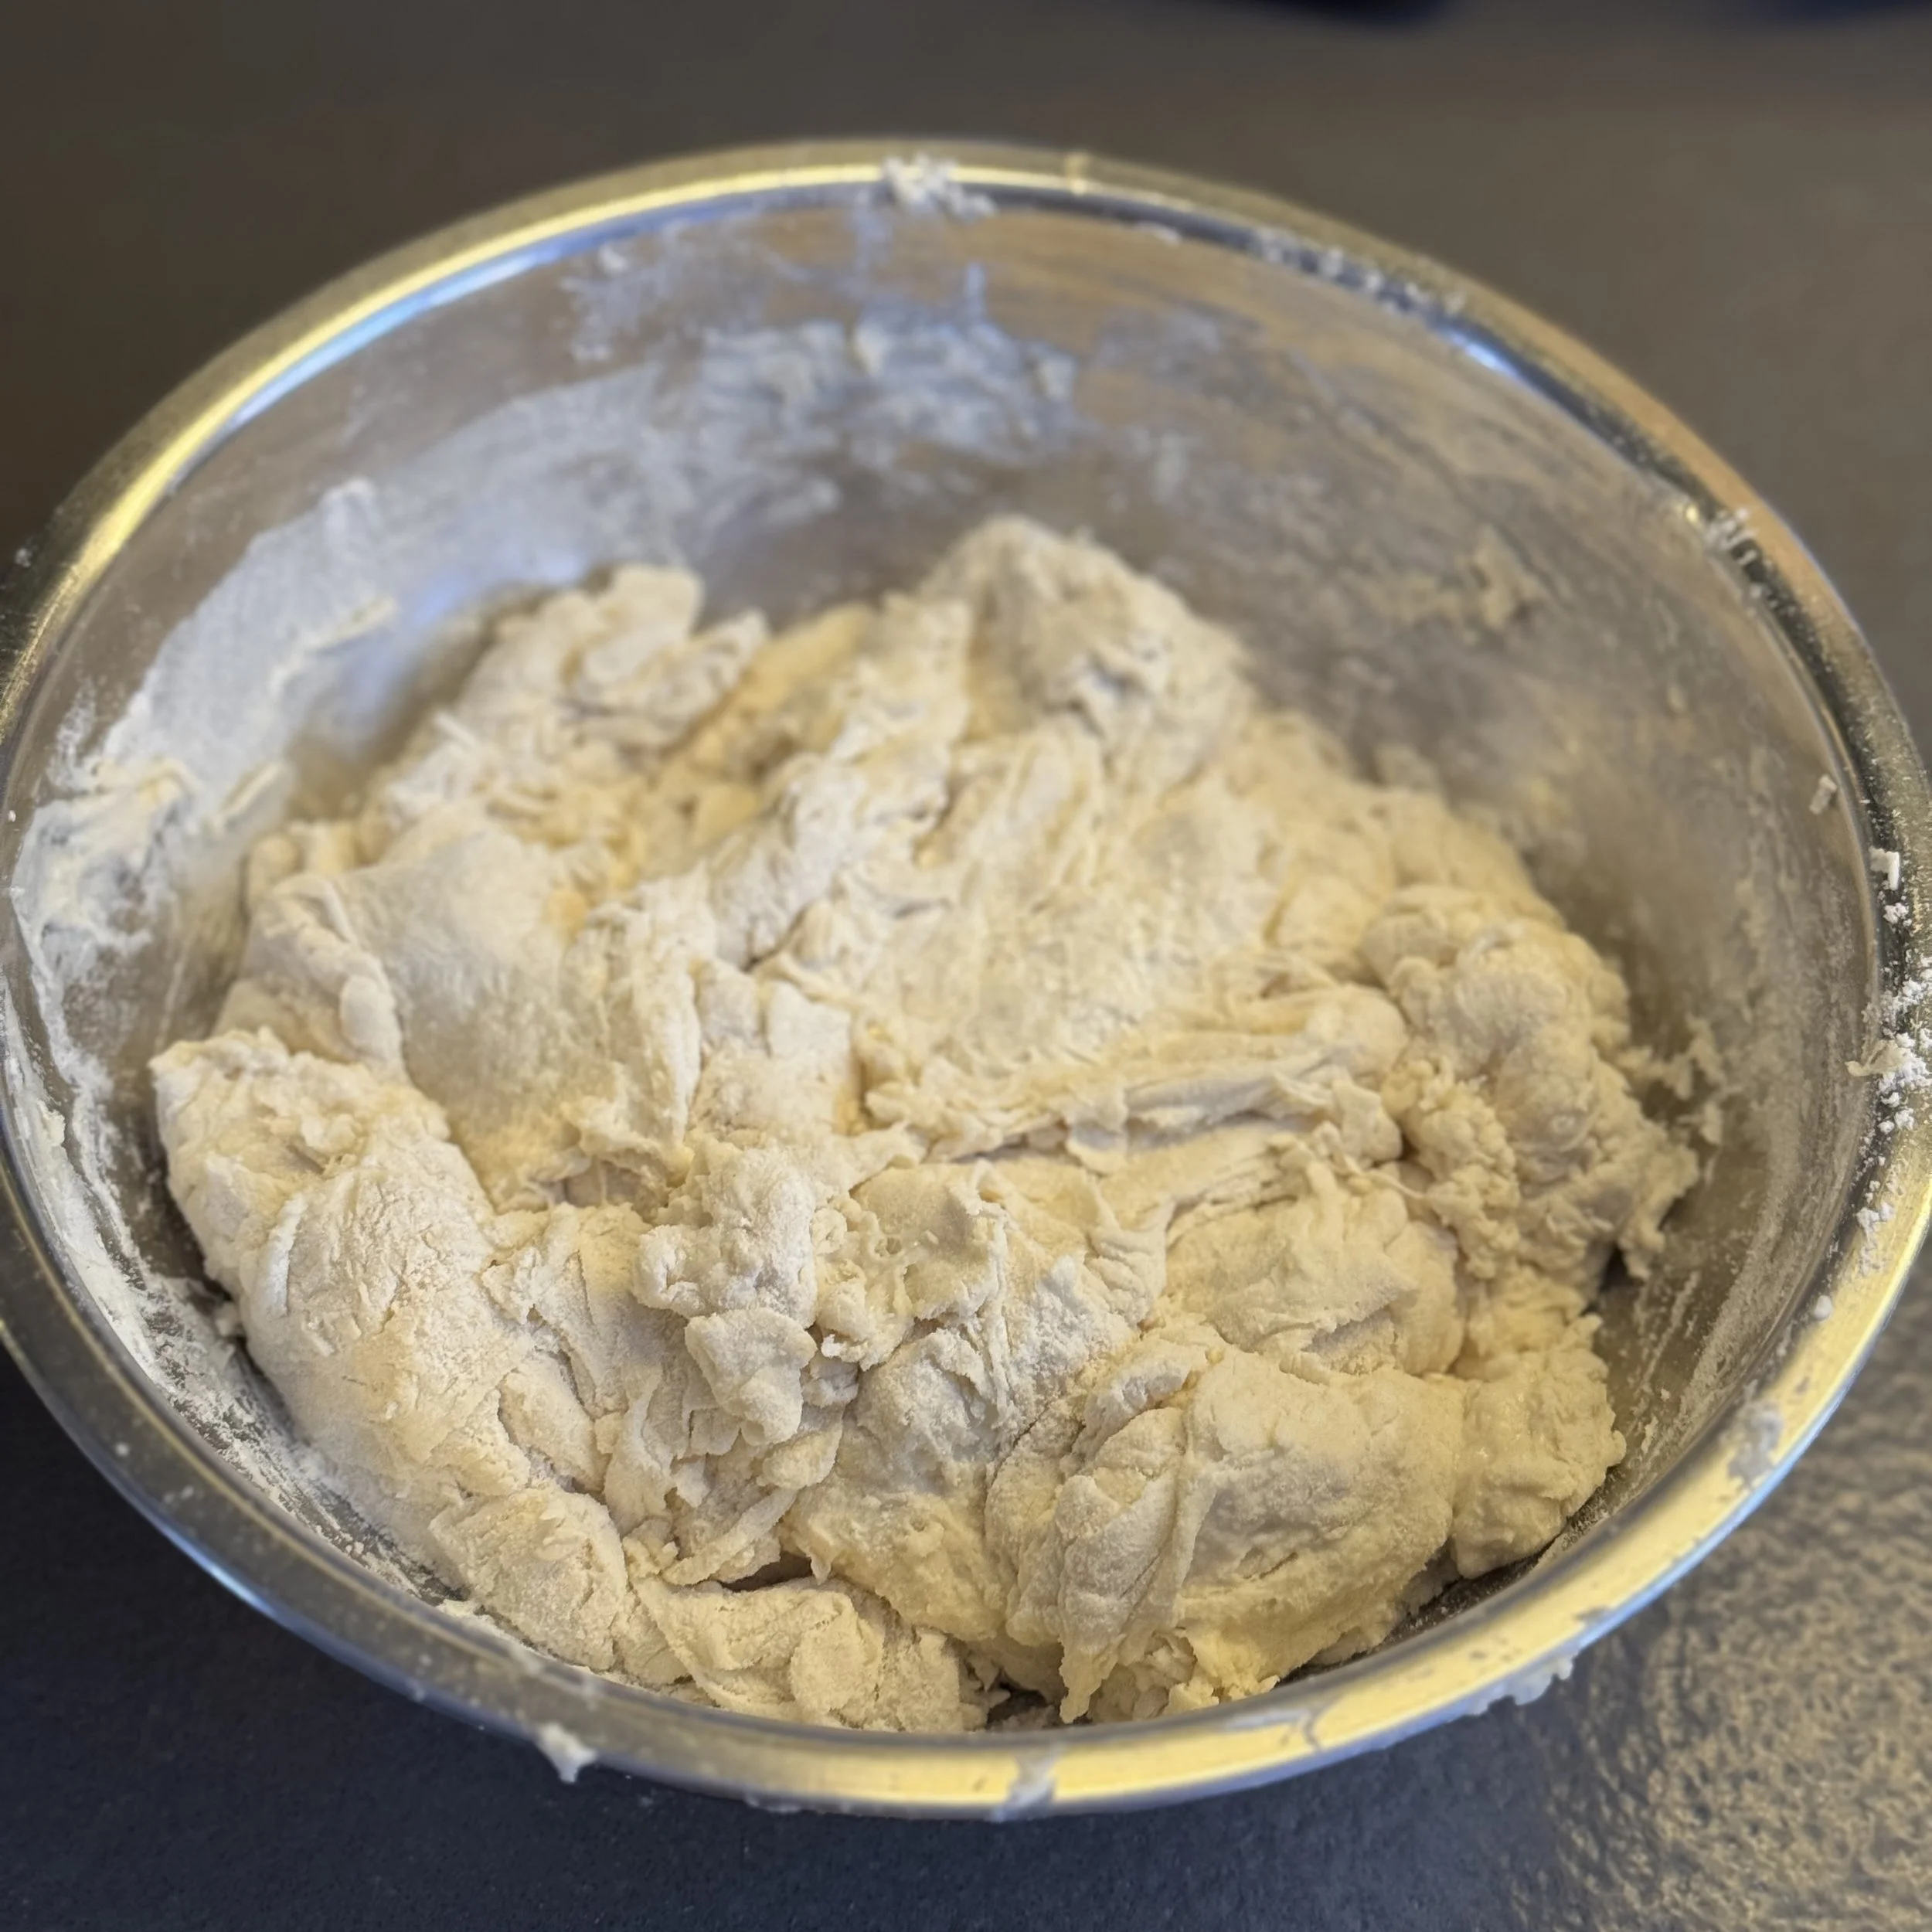
Flour + water left to autolyse.
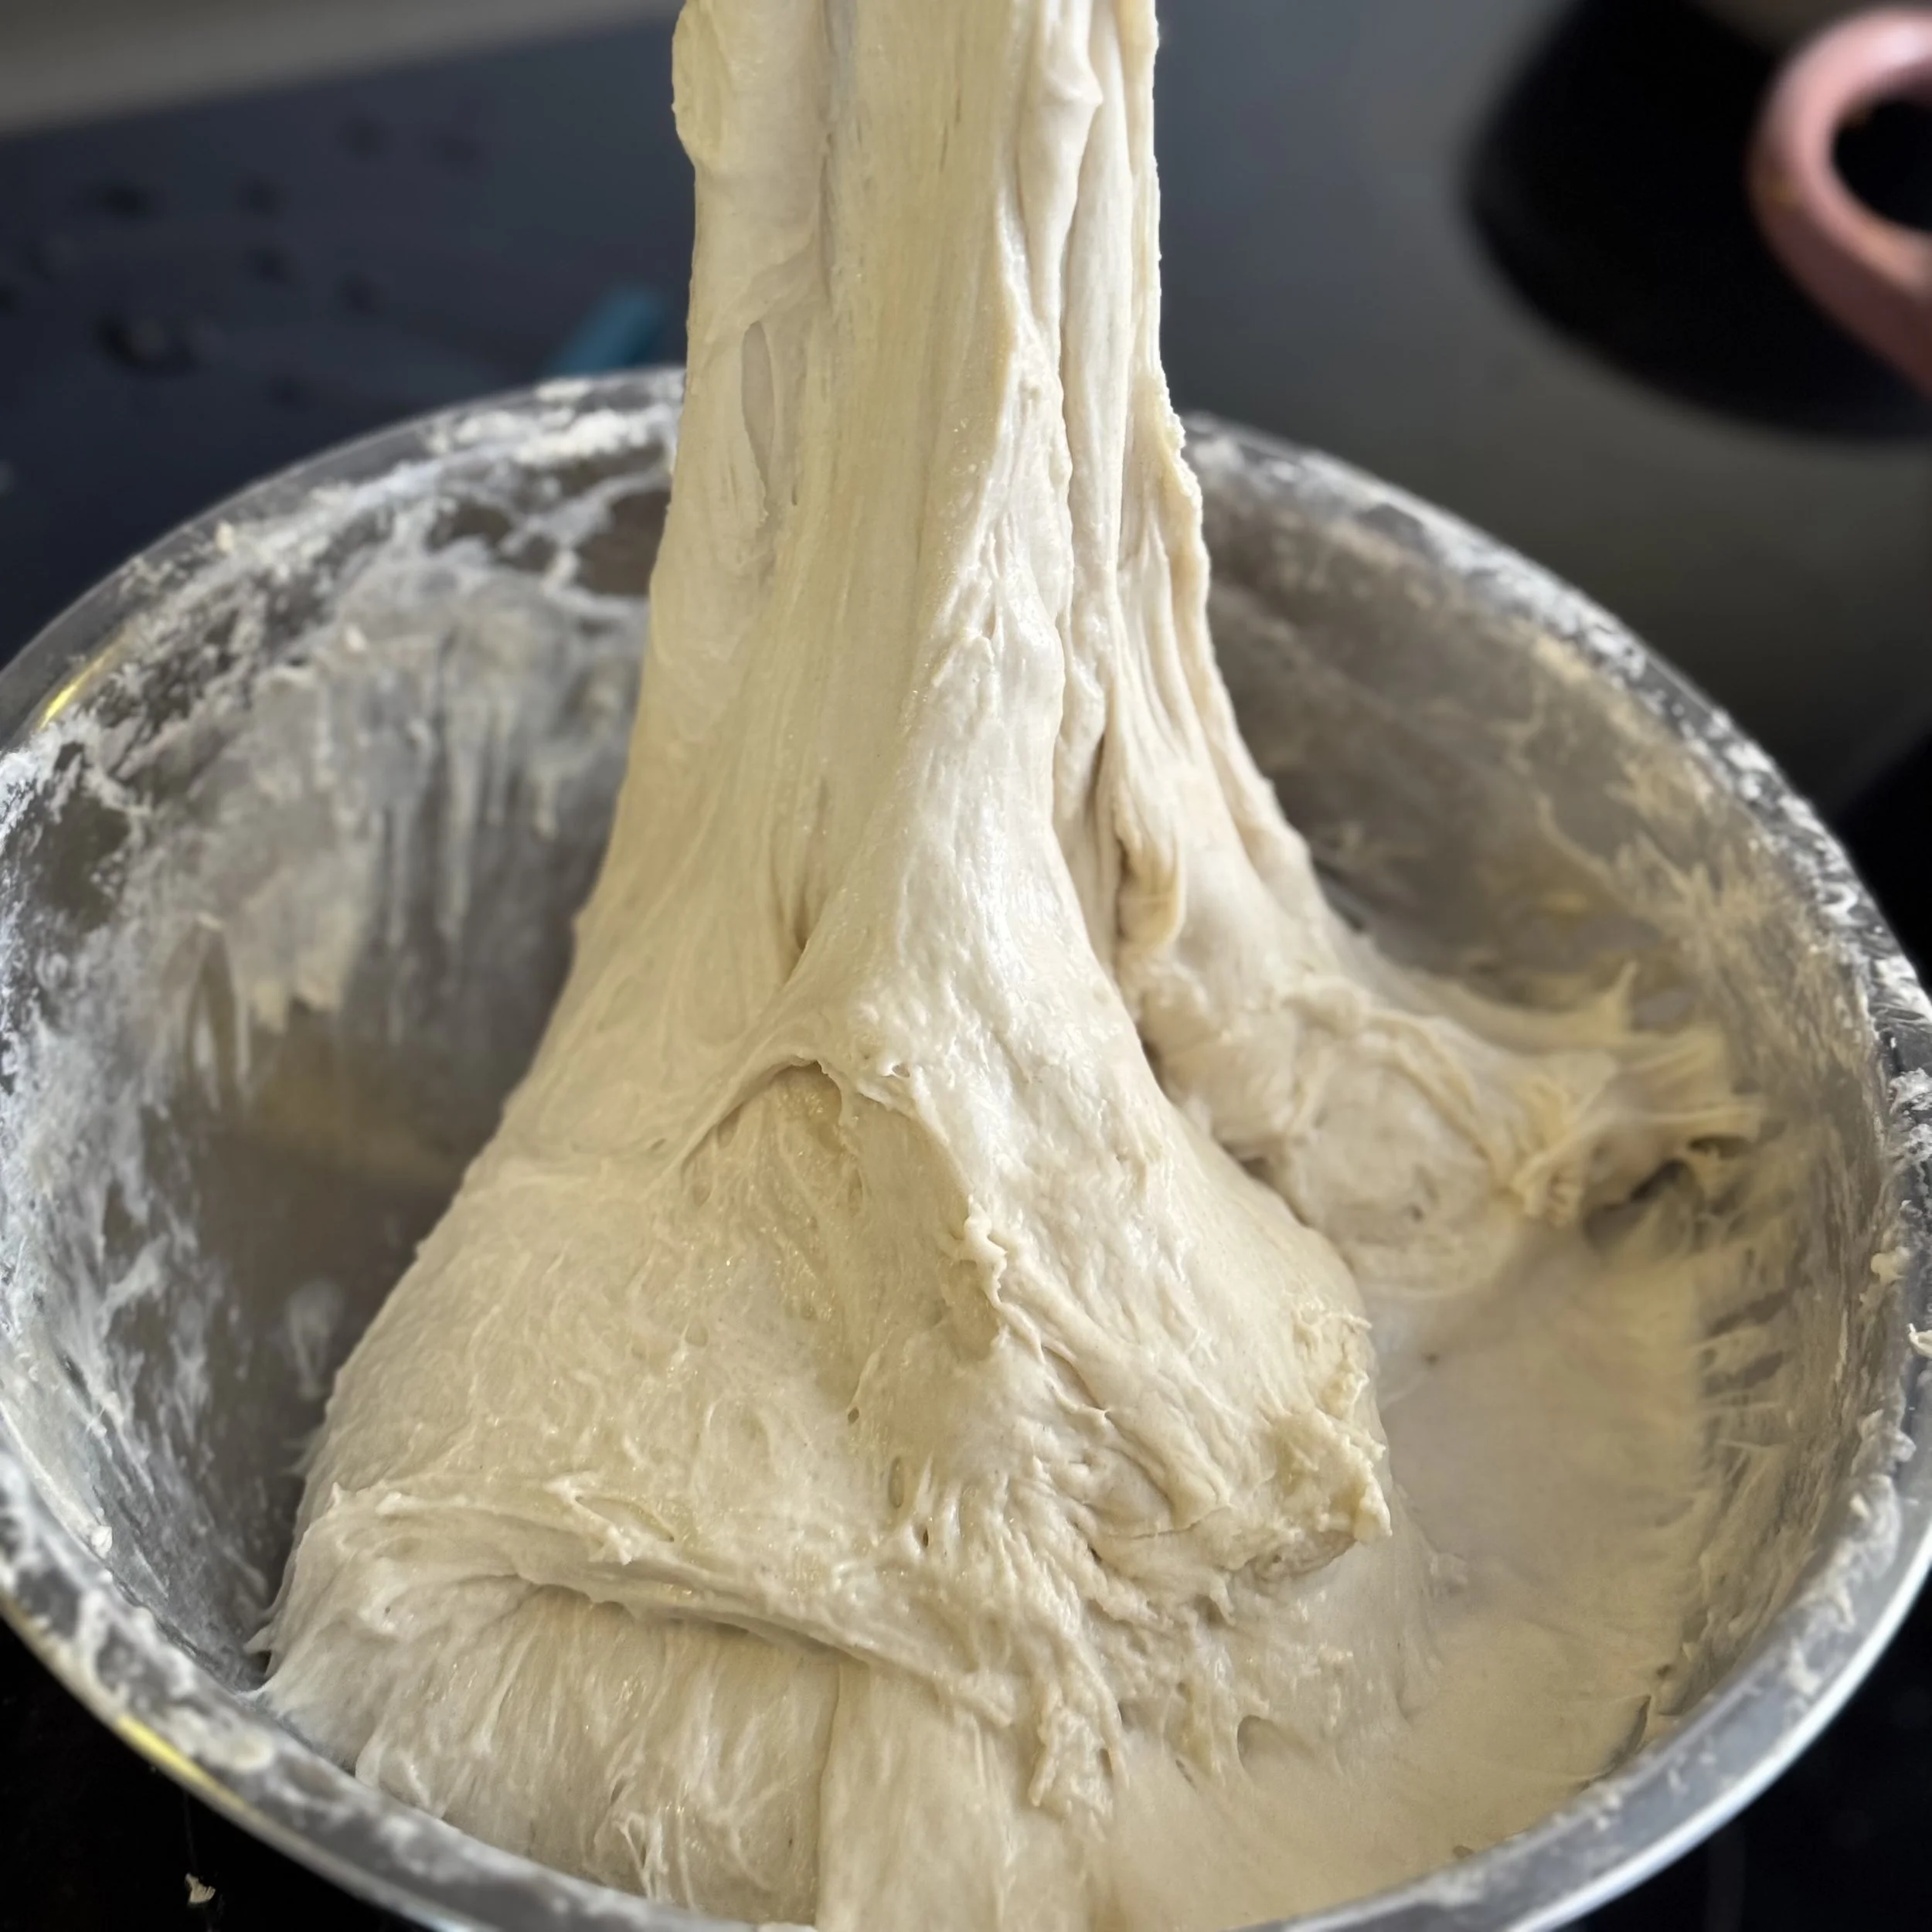
The “stretch-and-fold” with starter + salt added. It should become springy like this after a few rounds of stretch & folds over a few hours.
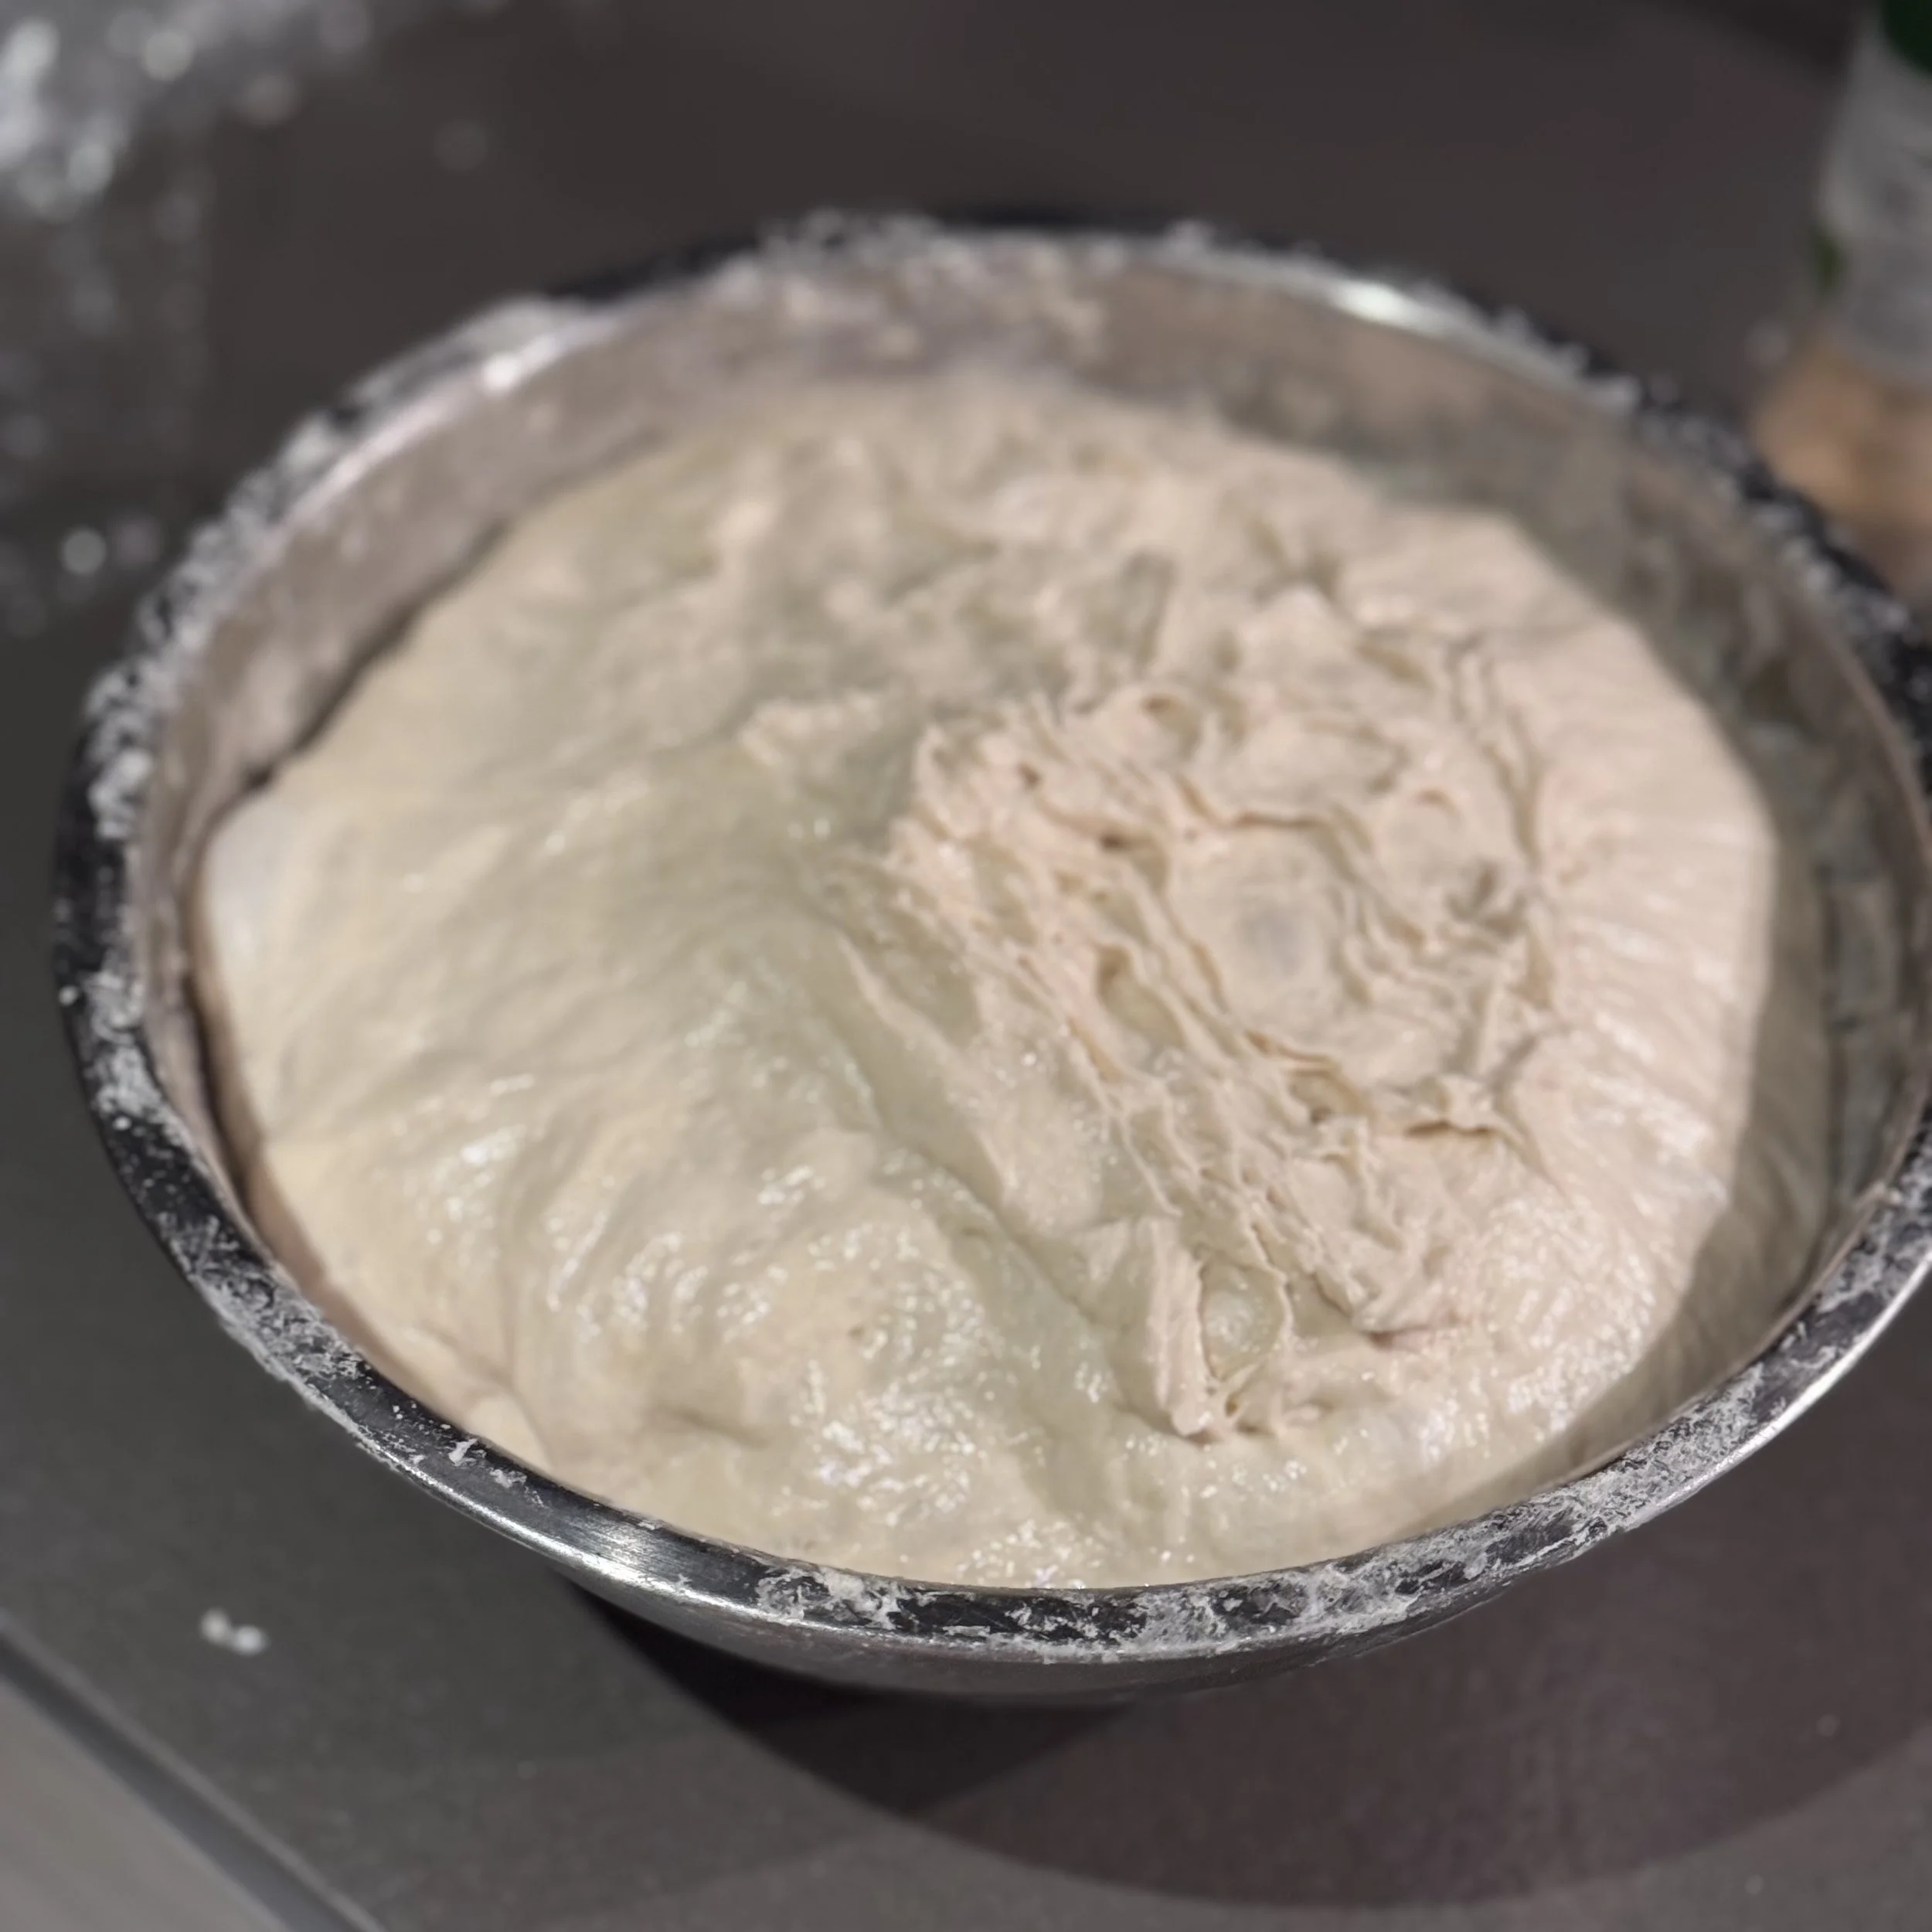
The size doubles up by the end of the day. One last stretch & fold into a ball, before placing into fridge to cold proof overnight.
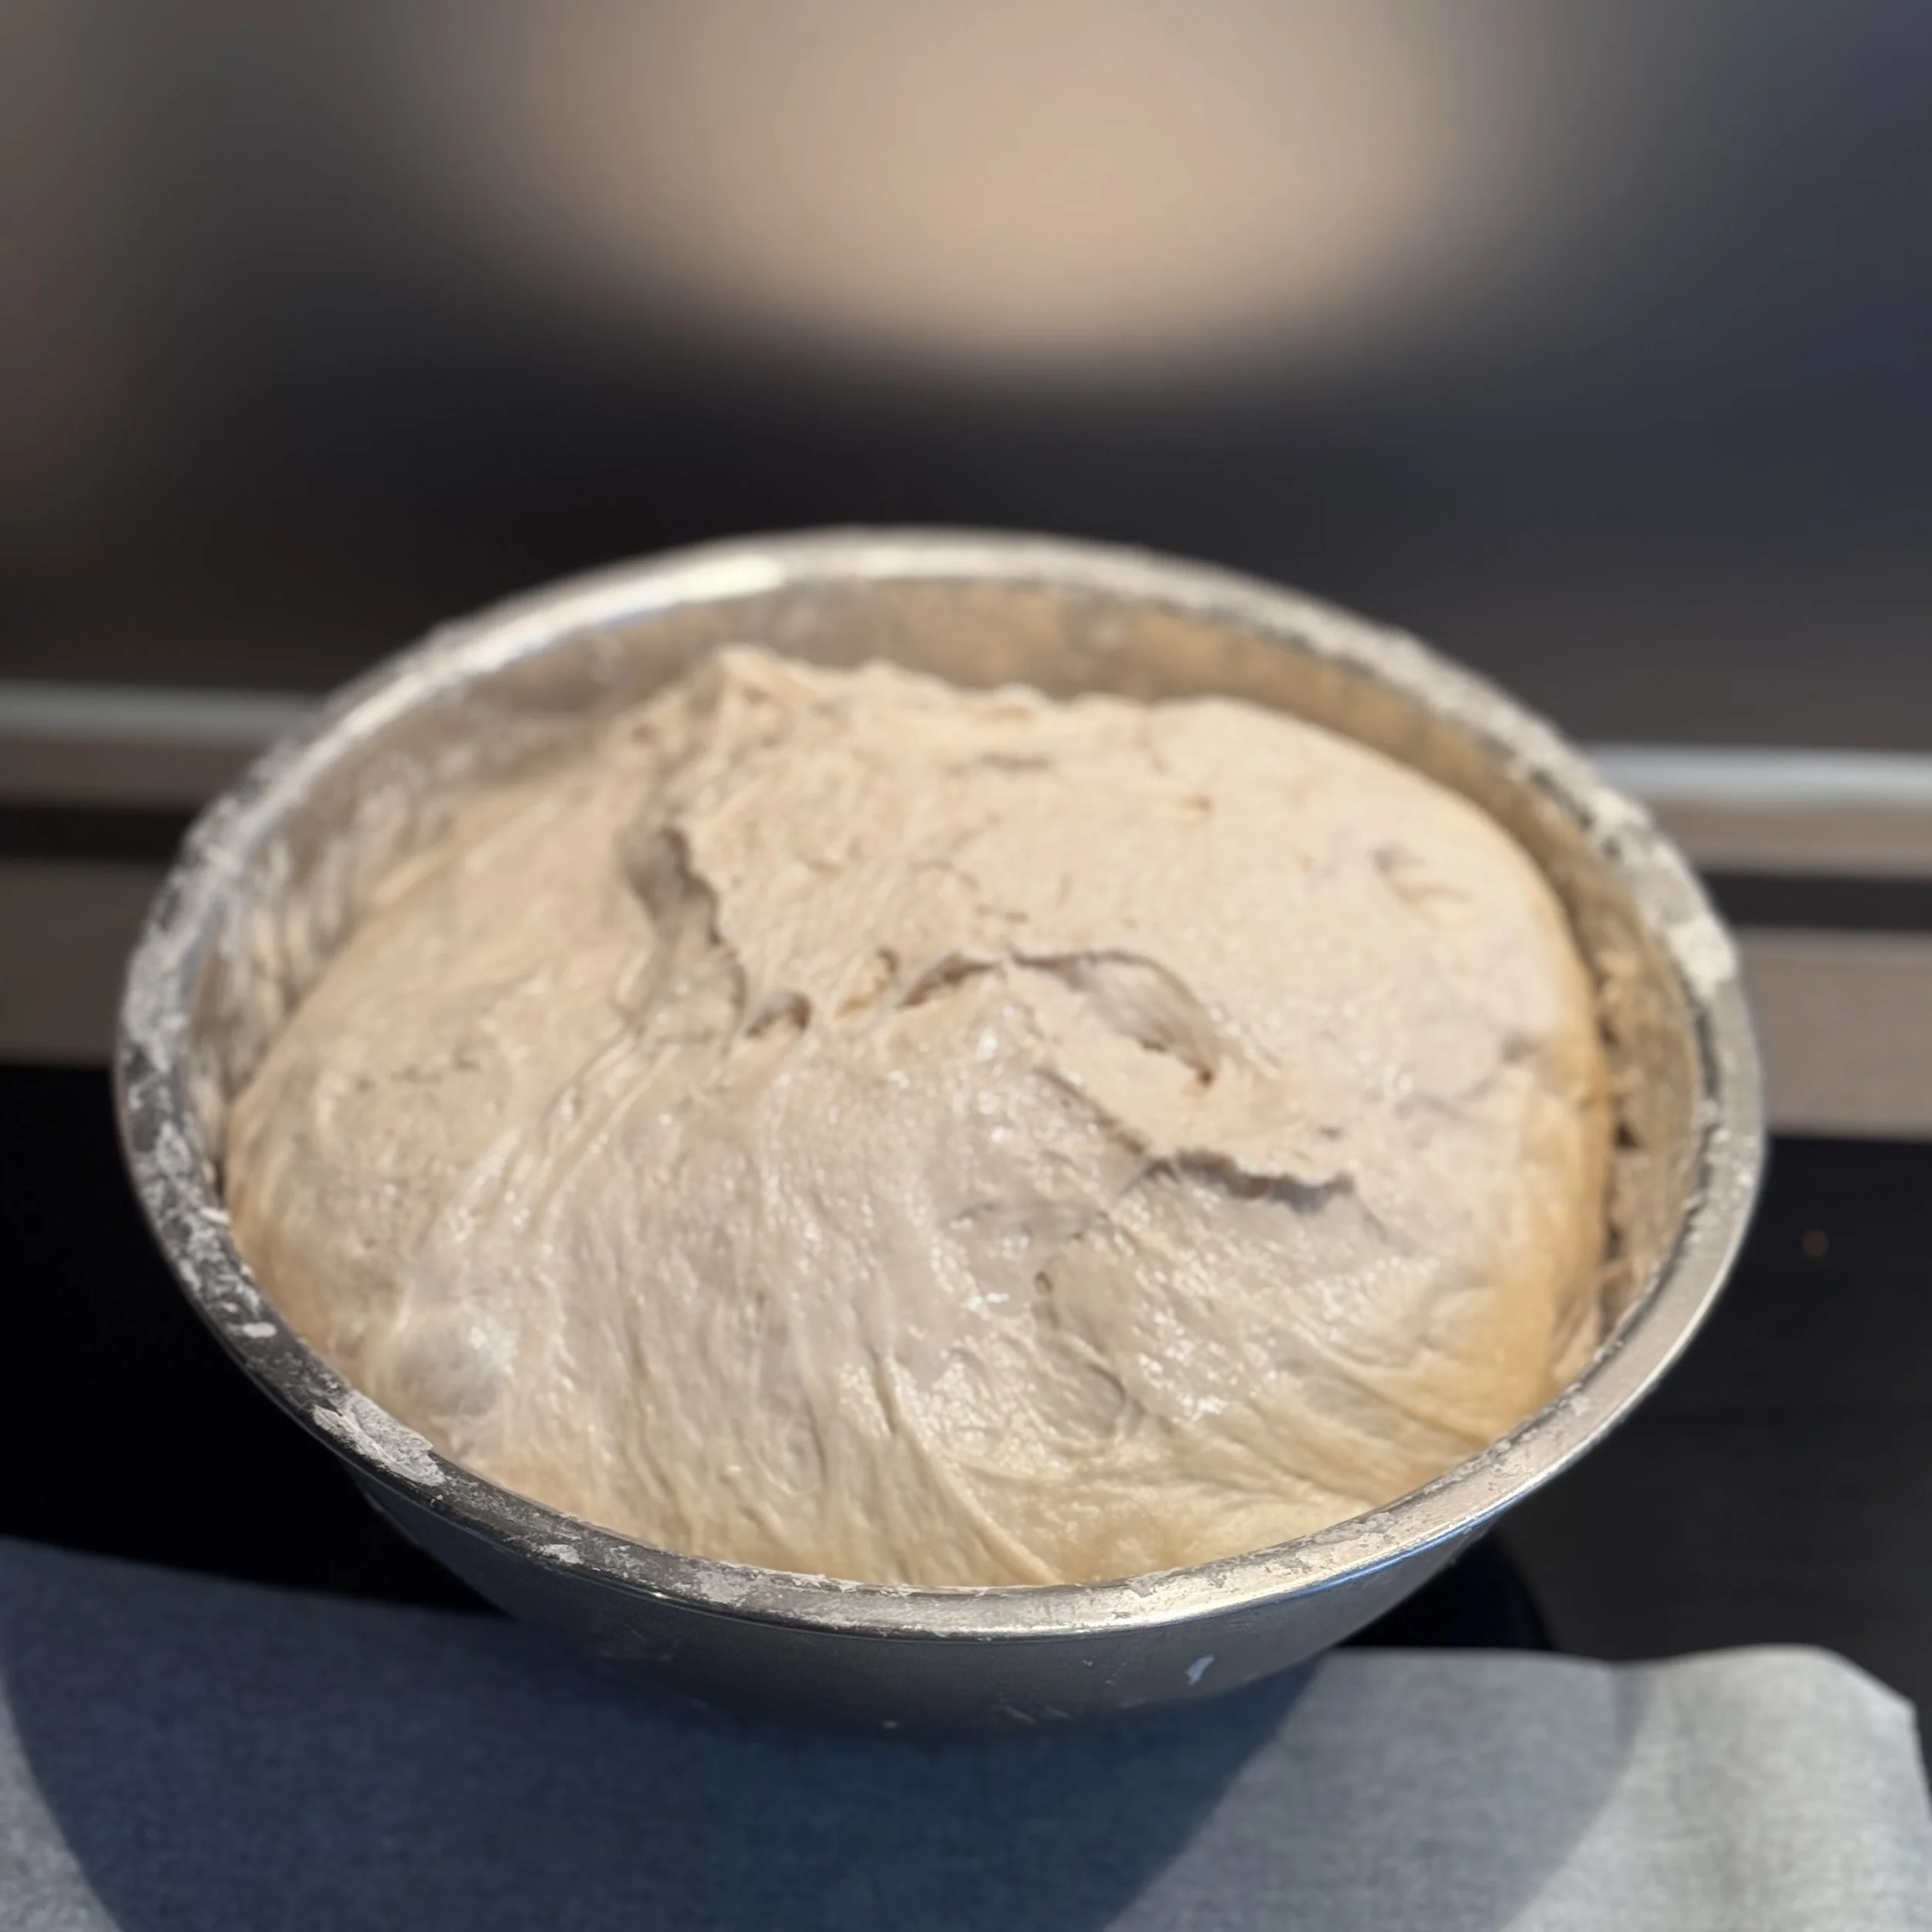
How it looked in the morning after 14 hours of cold-proofing (should have covered it more properly as the sides were a bit dried out)

Deep score after placing on a cooking sheet in my Dutch oven (Le Creuset is the best!)
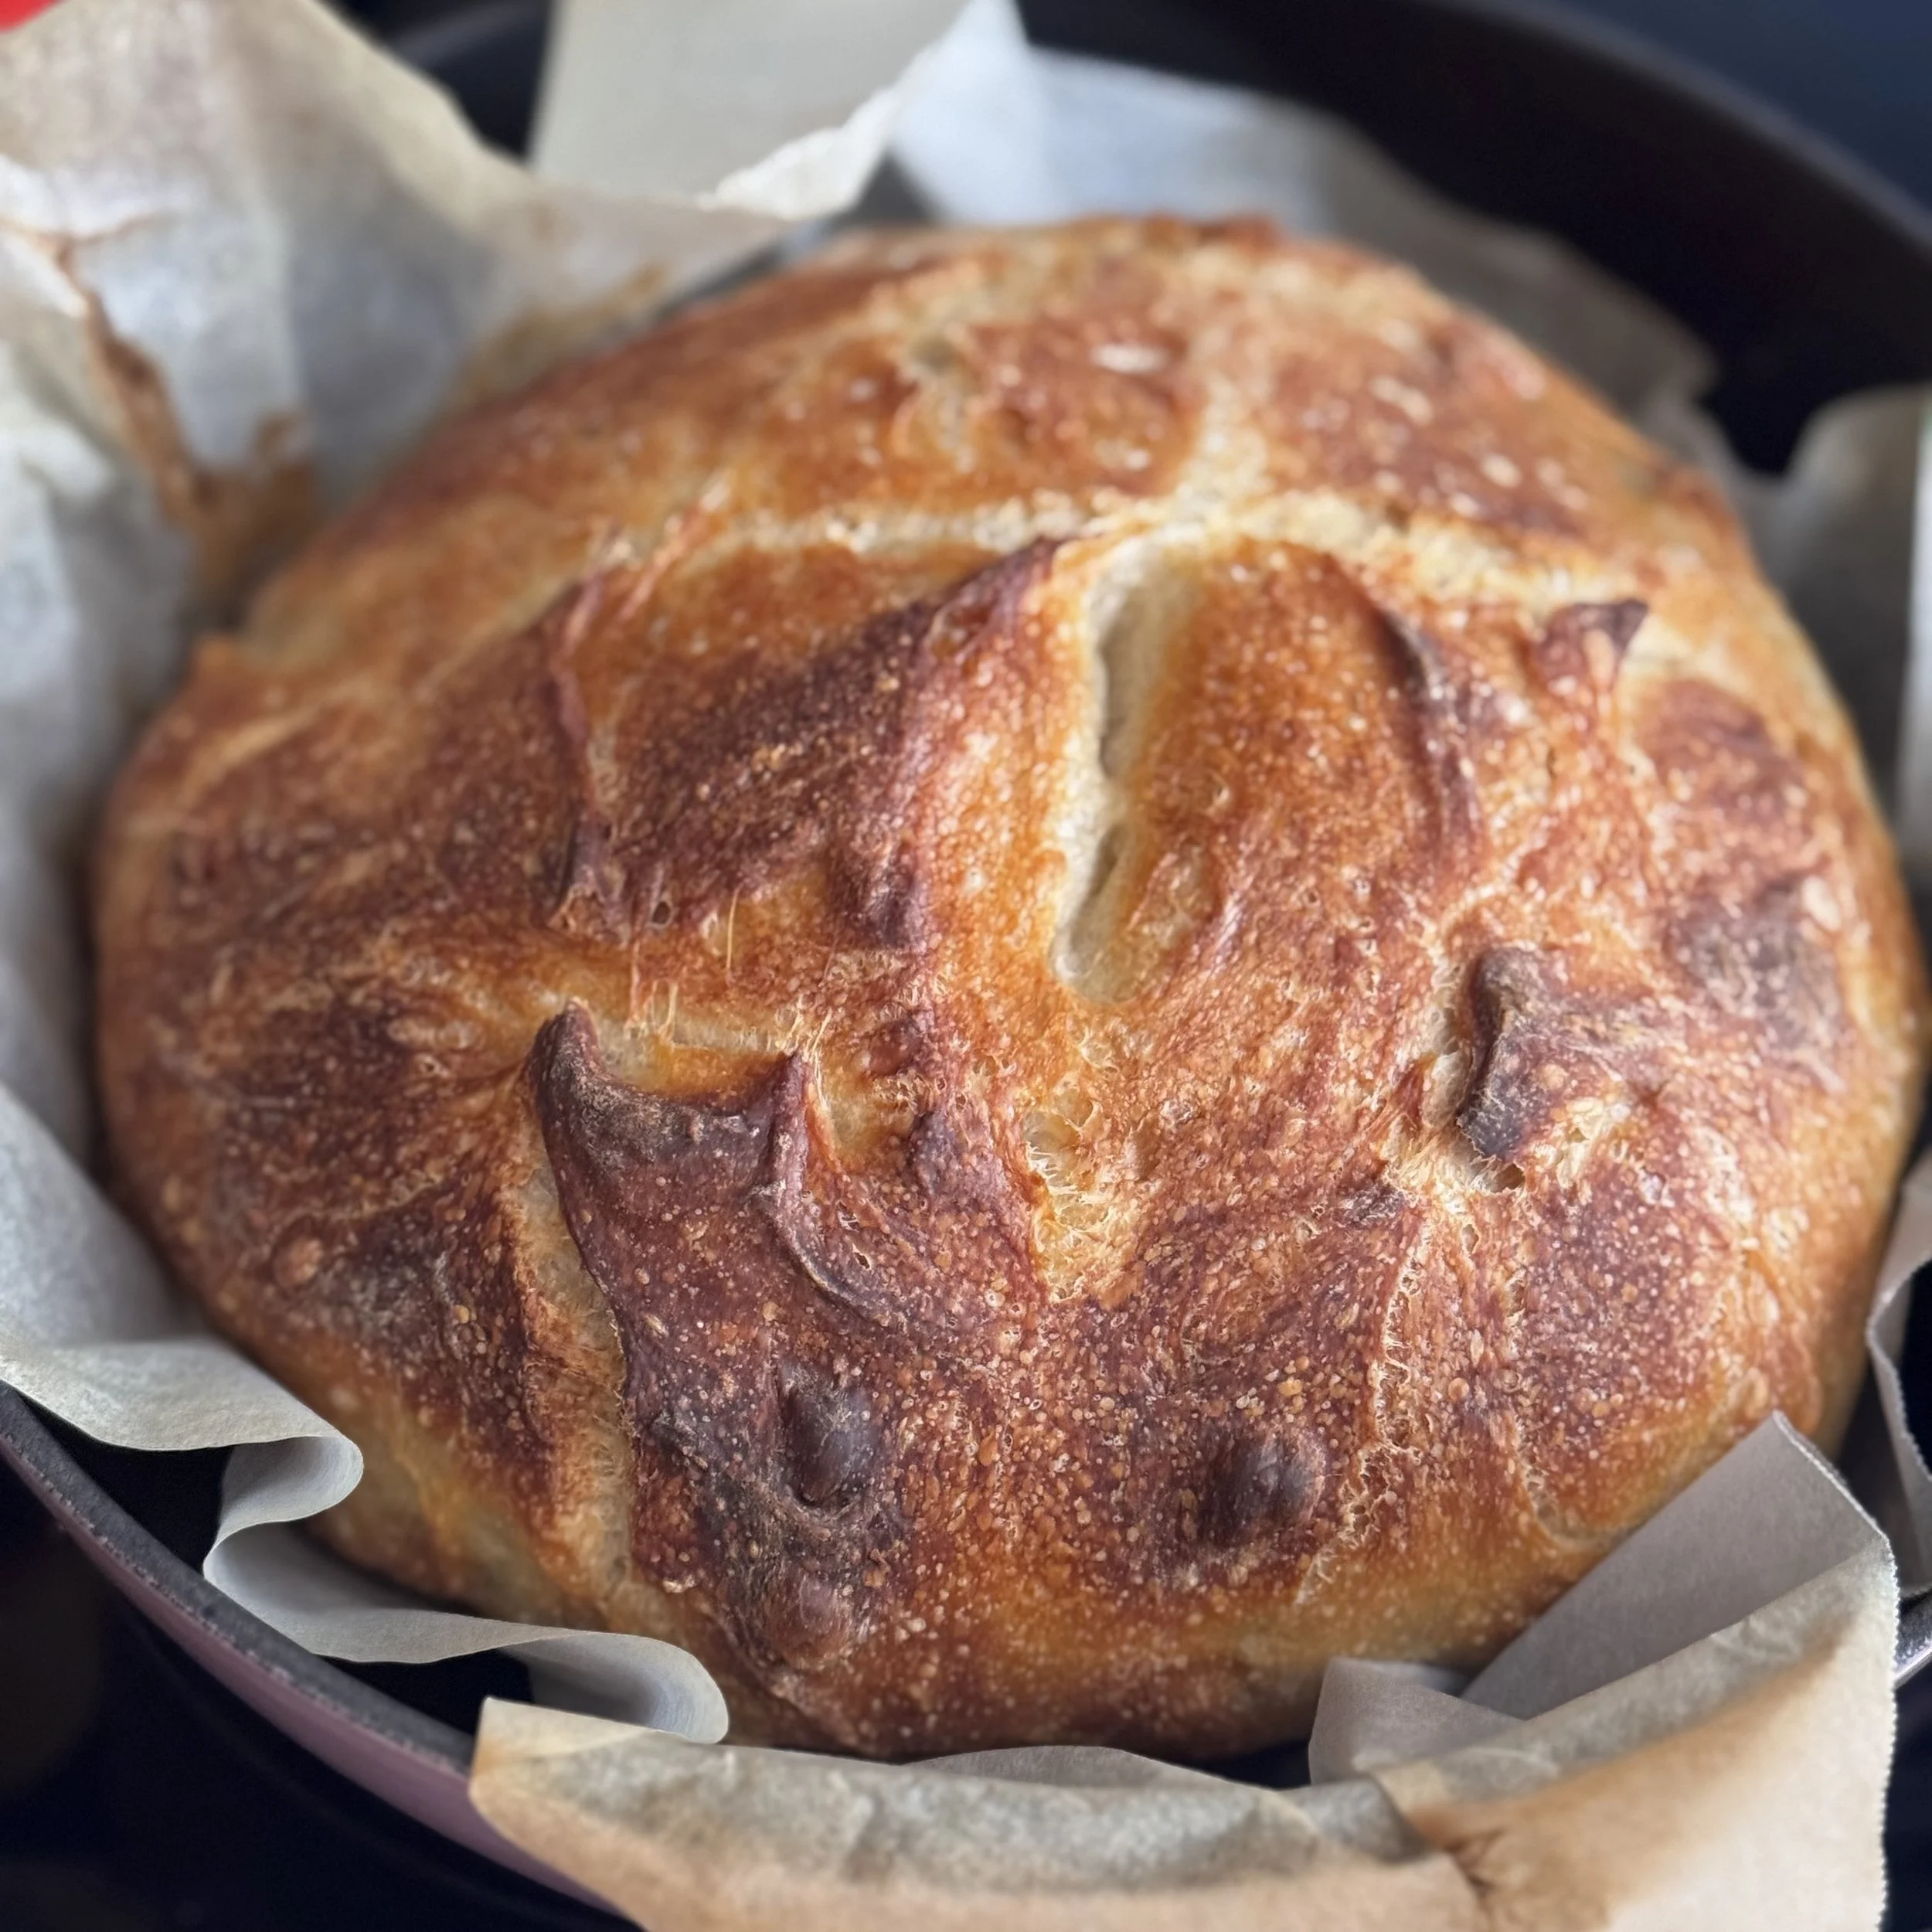
Such an amazing, deep flavor, crispy crust & soft texture inside!